Roles
In any security product, controlling who can do what is the foundation of a secure environment. ThetaSecure's role-based access control (RBAC) system gives you the ability to define exactly what each administrator, operator, or end user can see and do within the platform.
The permission model is deliberately granular. With 173 individual permissions spread across every module in the system, you can craft roles that follow the principle of least privilege and grant access strictly on a need-to-know basis. A SOC analyst does not need the same console access as a super administrator. A helpdesk operator who resets passwords should not be able to modify authentication policies. ThetaSecure makes these boundaries easy to define and enforce.
System Roles
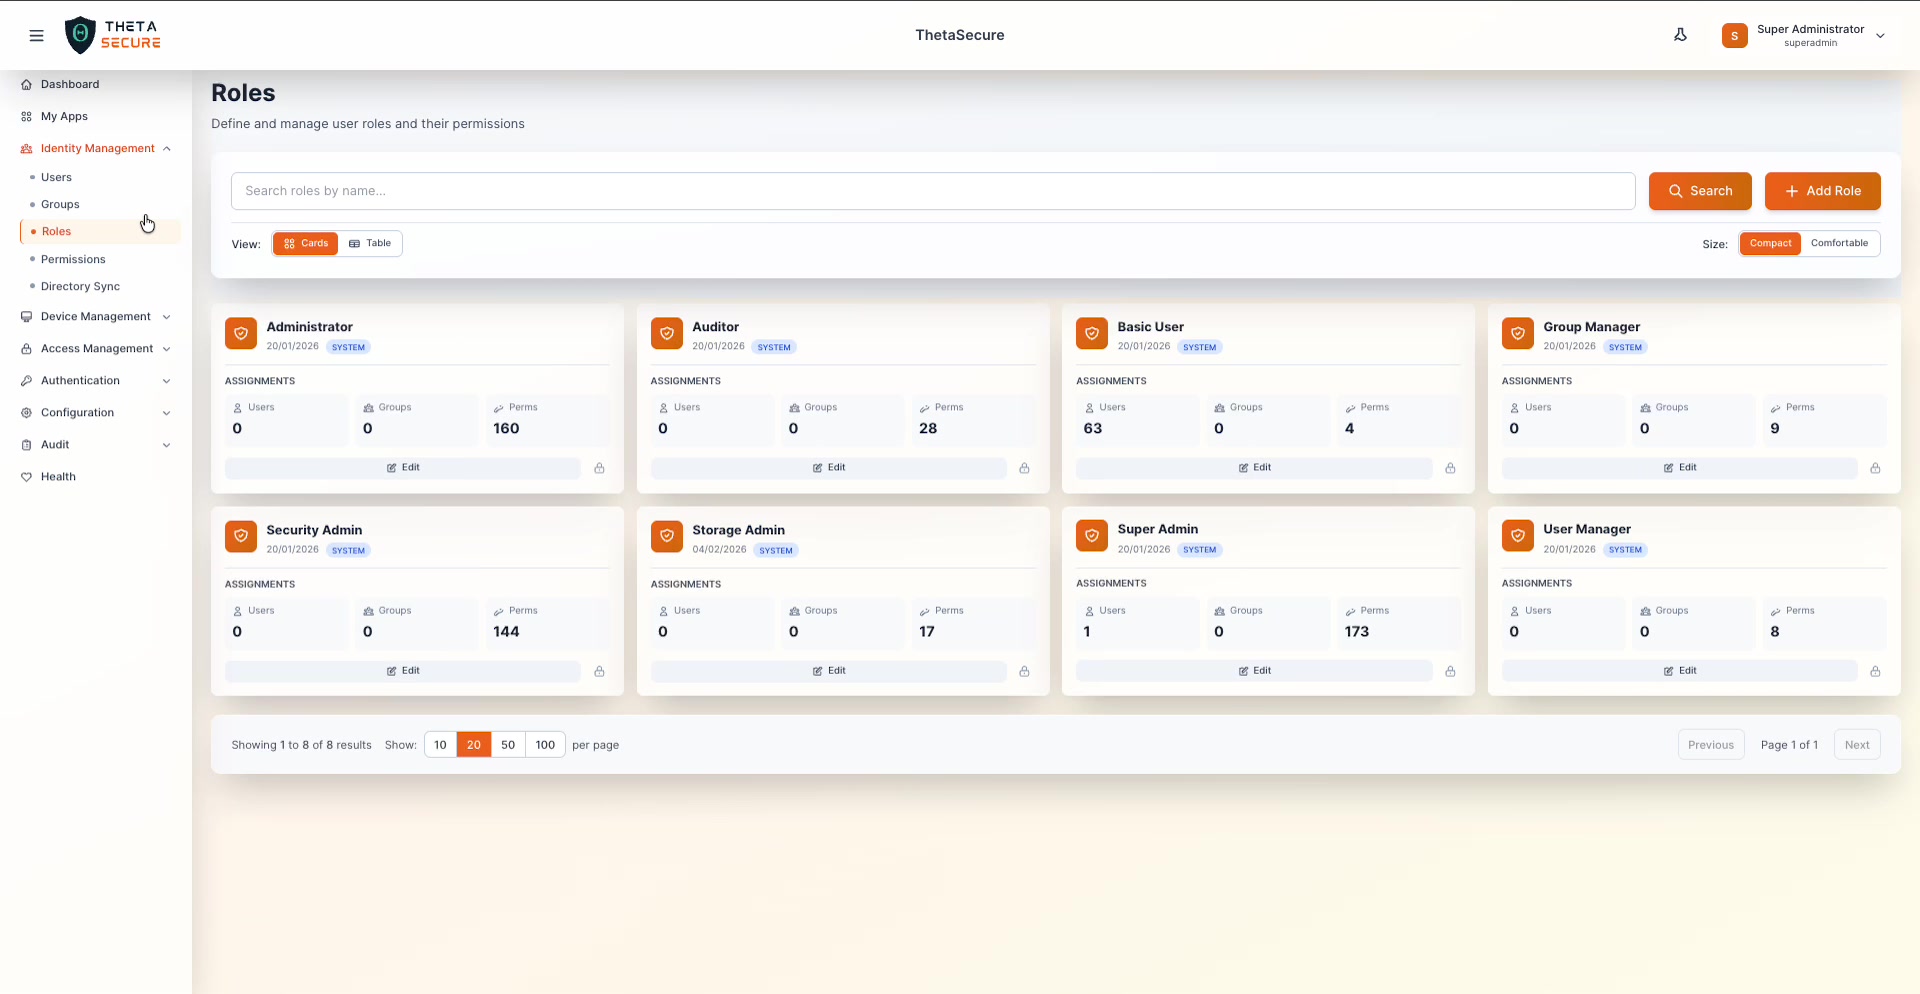
ThetaSecure ships with eight built-in system roles. These cover the most common administrative profiles and cannot be deleted (indicated by the 🔒 lock icon on each card). You can, however, edit the permissions on system roles to tune them to your organization's requirements.
| Role | Permissions | Purpose |
|---|---|---|
| Super Admin | 173 | Full, unrestricted access to every feature and setting in ThetaSecure |
| Administrator | 160 | Broad administrative access with minor restrictions compared to Super Admin |
| Security Admin | 144 | Focused on security configuration, authentication policies, and audit access |
| Auditor | 28 | Read-only access to audit logs and compliance-related data |
| Storage Admin | 17 | Manages storage configuration and related resources |
| Group Manager | 9 | Creates and manages groups, assigns users to groups |
| User Manager | 8 | Creates and manages user accounts and profiles |
| Basic User | 4 | Minimal access for standard end users (currently assigned to 63 users) |
The permission counts above tell an important story. The gap between Super Admin (173) and Basic User (4) shows how much fine-grained control is available. An administrator can build custom roles anywhere on that spectrum.
Table View
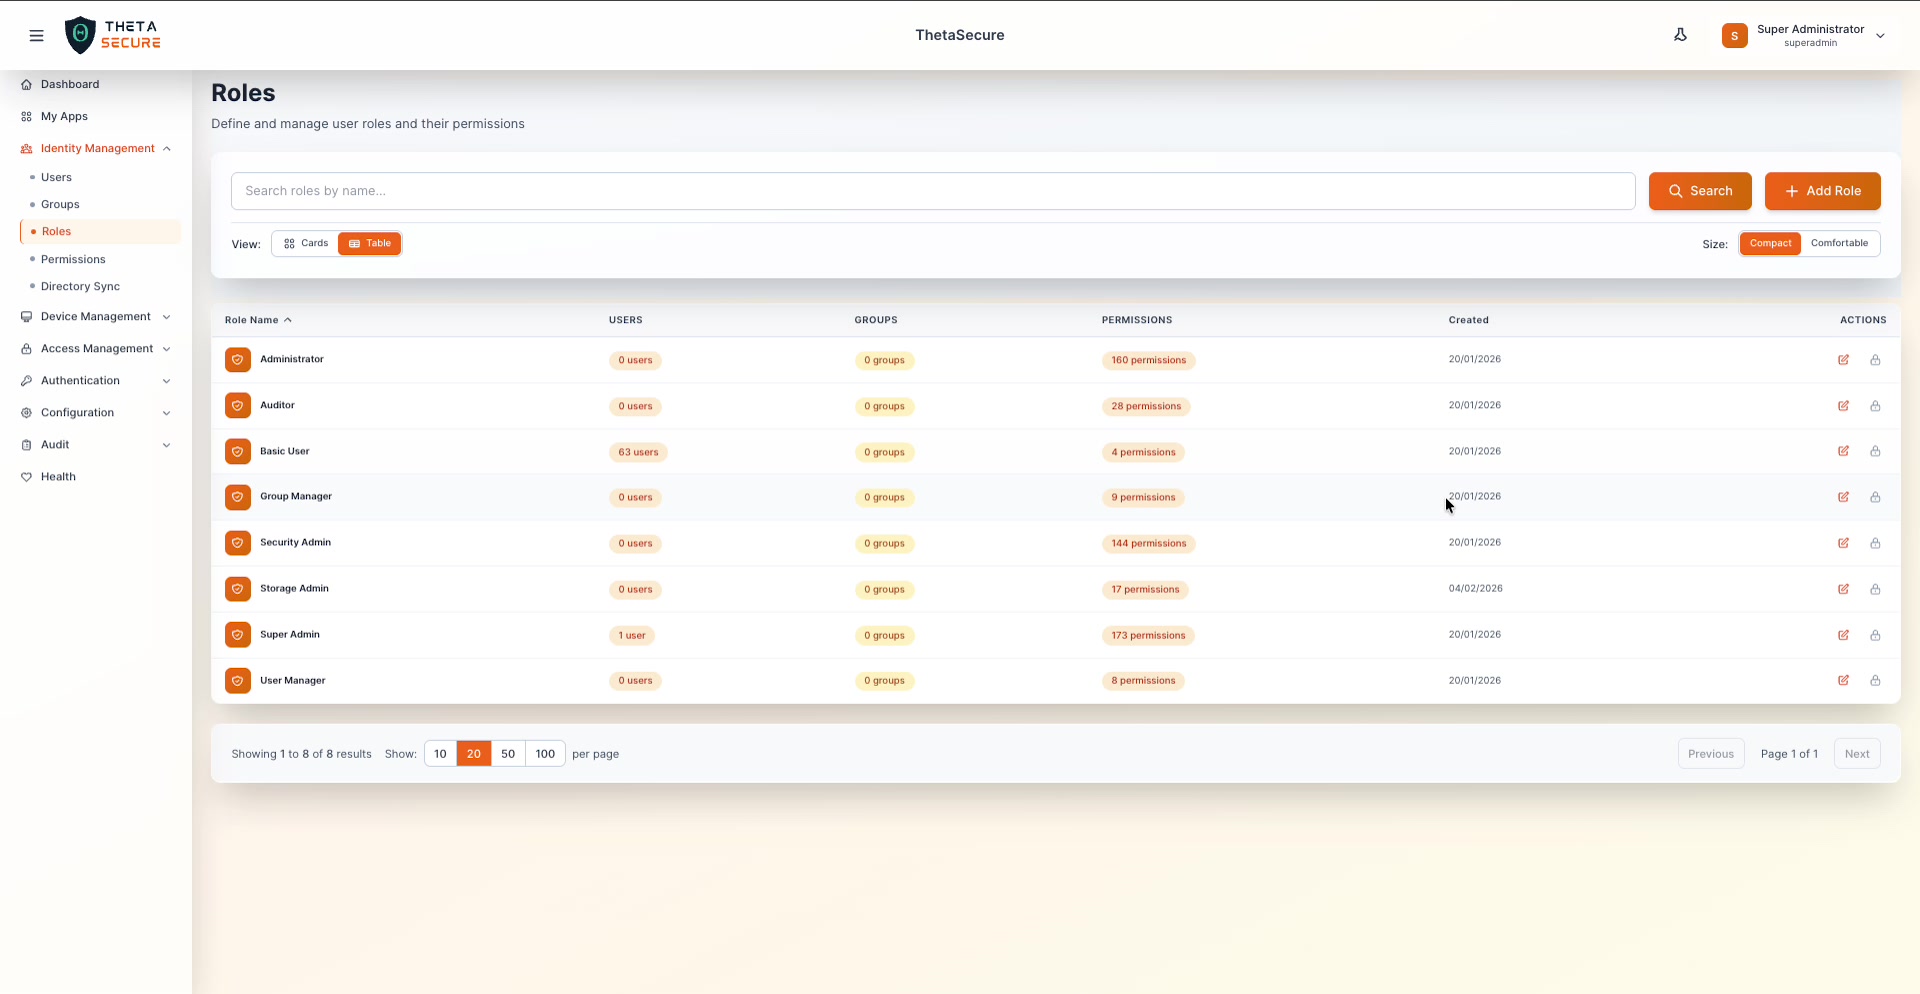
Switch to Table view for a compact summary of all roles. The table shows Role Name, Users assigned, Groups assigned, Permissions count, and Created date. This view is useful when you need to quickly audit which roles have the most users or compare permission counts across roles.
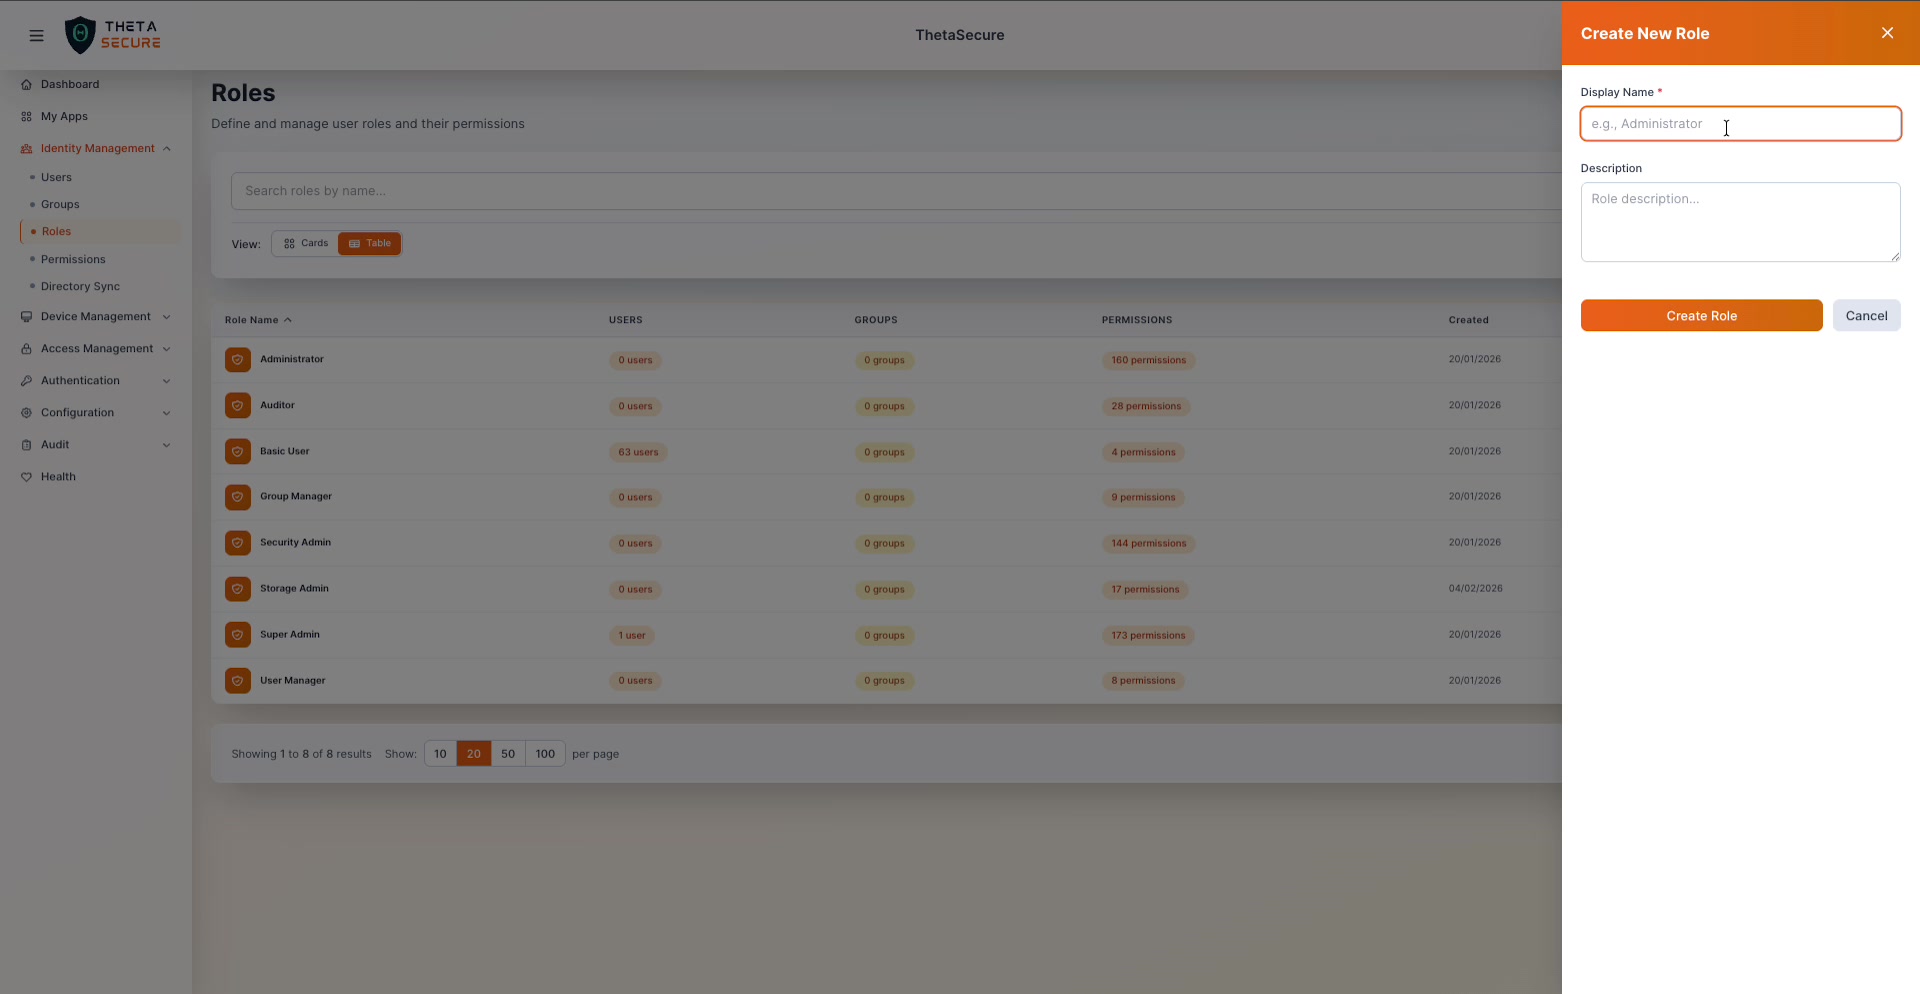
Creating a Custom Role
While the system roles cover most common scenarios, real-world environments often need specialized roles. For example, you might need a "Network Ops" role that can manage VPN configuration and view flow logs but has no access to user management. Or a "Compliance Officer" role with read-only access to all audit categories but nothing else.
Click + Add Role to open the creation form.
| Field | Required | Description |
|---|---|---|
| Display Name | Yes | A clear name that describes the role's purpose (e.g., "Network Ops", "Helpdesk L1") |
| Description | No | Free-text field to document what this role is intended for and who should receive it |
Click Create Role to save. The new role starts with zero permissions. You will assign specific permissions in the next step.
Always add a description to custom roles. Six months from now, another administrator will thank you for documenting why the "Compliance Officer" role exists and what access it includes.
Managing Permissions
This is where the real power of ThetaSecure's RBAC model becomes visible. Click the Perms count on any role card (or the edit icon) to open the Manage Permissions panel.
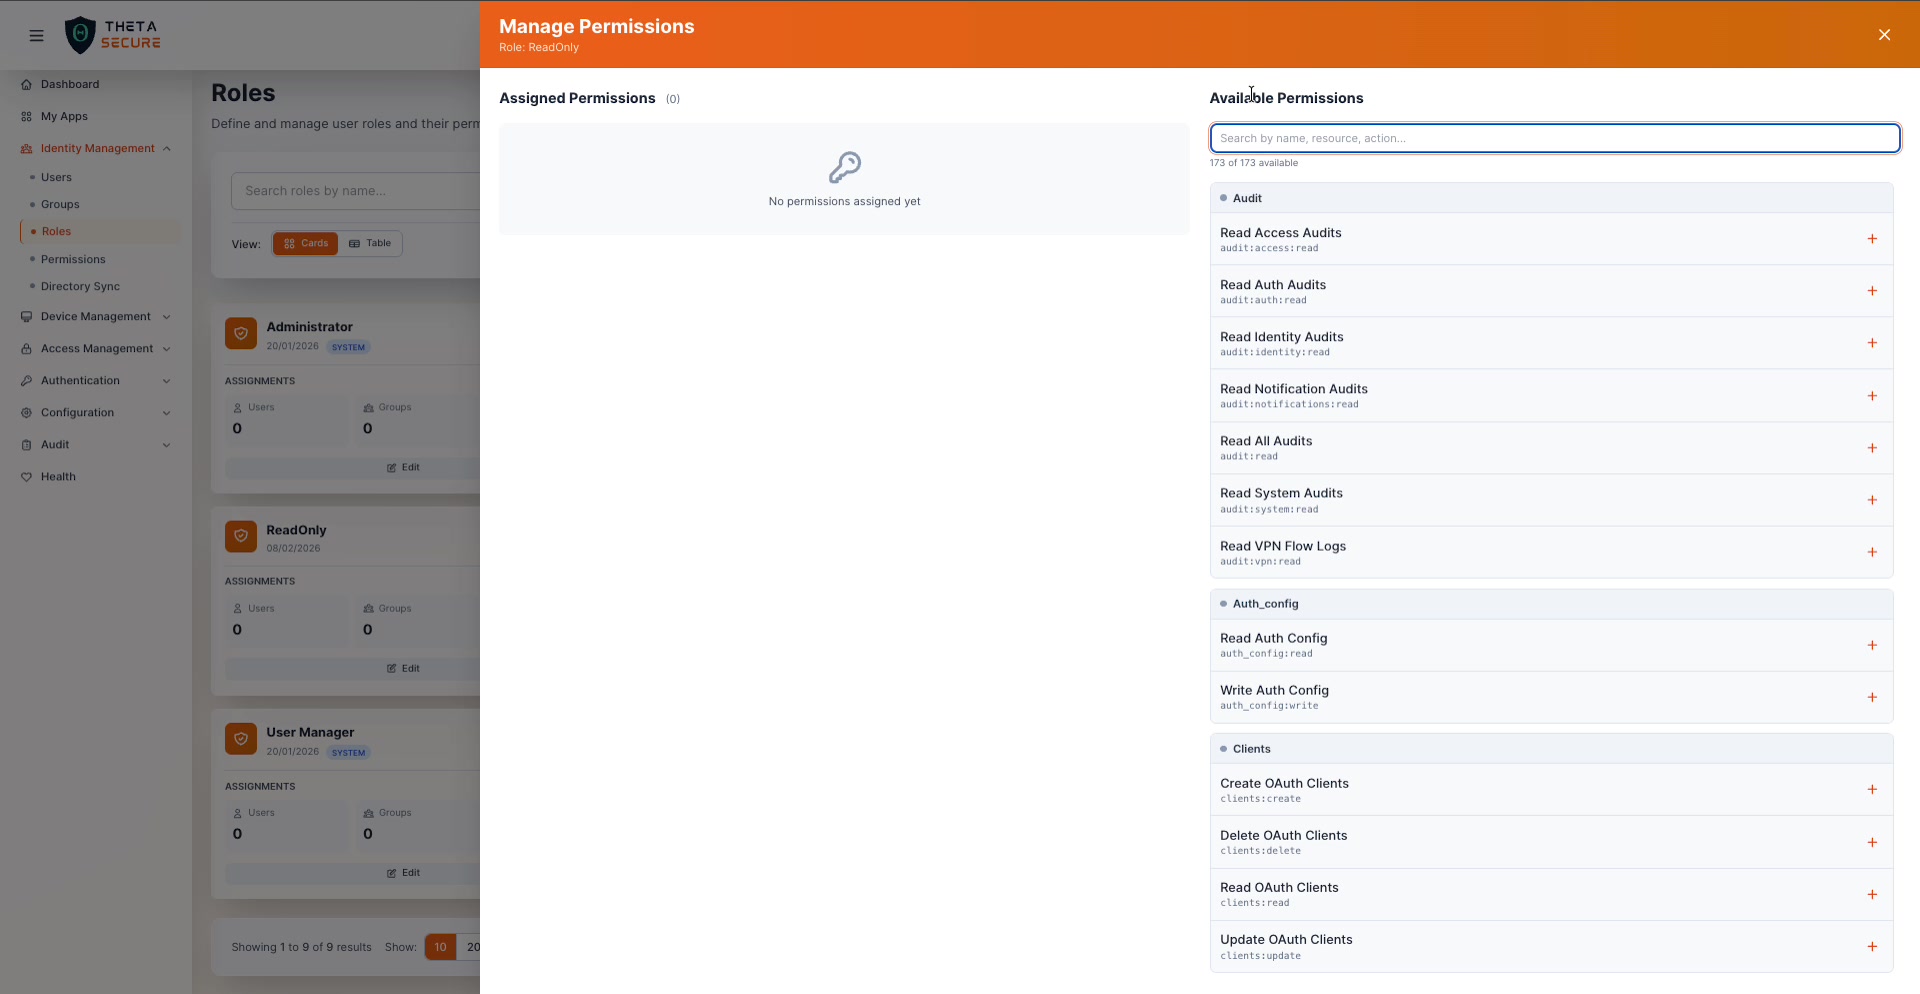
The panel is split into two columns. The left side shows Assigned Permissions currently granted to the role. The right side lists all Available Permissions with a search bar and a total count (e.g., "173 of 173 available").
Permission Categories
Permissions are organized into categories that map directly to ThetaSecure's modules. Each permission follows a resource:action naming convention, making it easy to understand what a permission grants at a glance.
| Category | Example Permissions | What It Covers |
|---|---|---|
| Audit | audit:access:read, audit:auth:read, audit:vpn:read | Reading various audit log categories |
| Auth_config | auth_config:read, auth_config:write | Authentication and MFA policy configuration |
| Clients | clients:create, clients:read, clients:delete | OAuth client management |
| Connectors | connectors:read | Directory sync connector access |
| Dashboard | dashboard:read | Viewing the dashboard |
| Devices | devices:read | Device management and ZTNA device access |
| Gateway_app_policies | gateway_app_policies:read | Access policy configuration |
| Gateway_apps | gateway_apps:read | Web and network application access |
| Gateway_recordings | gateway_recordings:read | RDP/SSH session recording access |
| Gateway_sessions | gateway_sessions:read | Active session monitoring |
| Groups | groups:read | Group management |
| Health | health:read | System health monitoring |
| License | license:read | License information access |
Most categories include separate read, write, create, update, and delete permissions, so you can grant a user the ability to view OAuth clients without giving them the power to create or delete them.
Searching and Assigning Permissions

Use the search bar to filter available permissions by name, resource, or action. For example, searching "read" narrows the list from 173 to 45 results, showing only read-level permissions across all categories. This is extremely useful when building a read-only audit role.
Click the + button next to any permission to assign it. The permission moves to the Assigned column on the left. Click the ✕ on an assigned permission to remove it.
Assigning Roles to Users
Click the Users count on a role card to open the Manage Users panel.
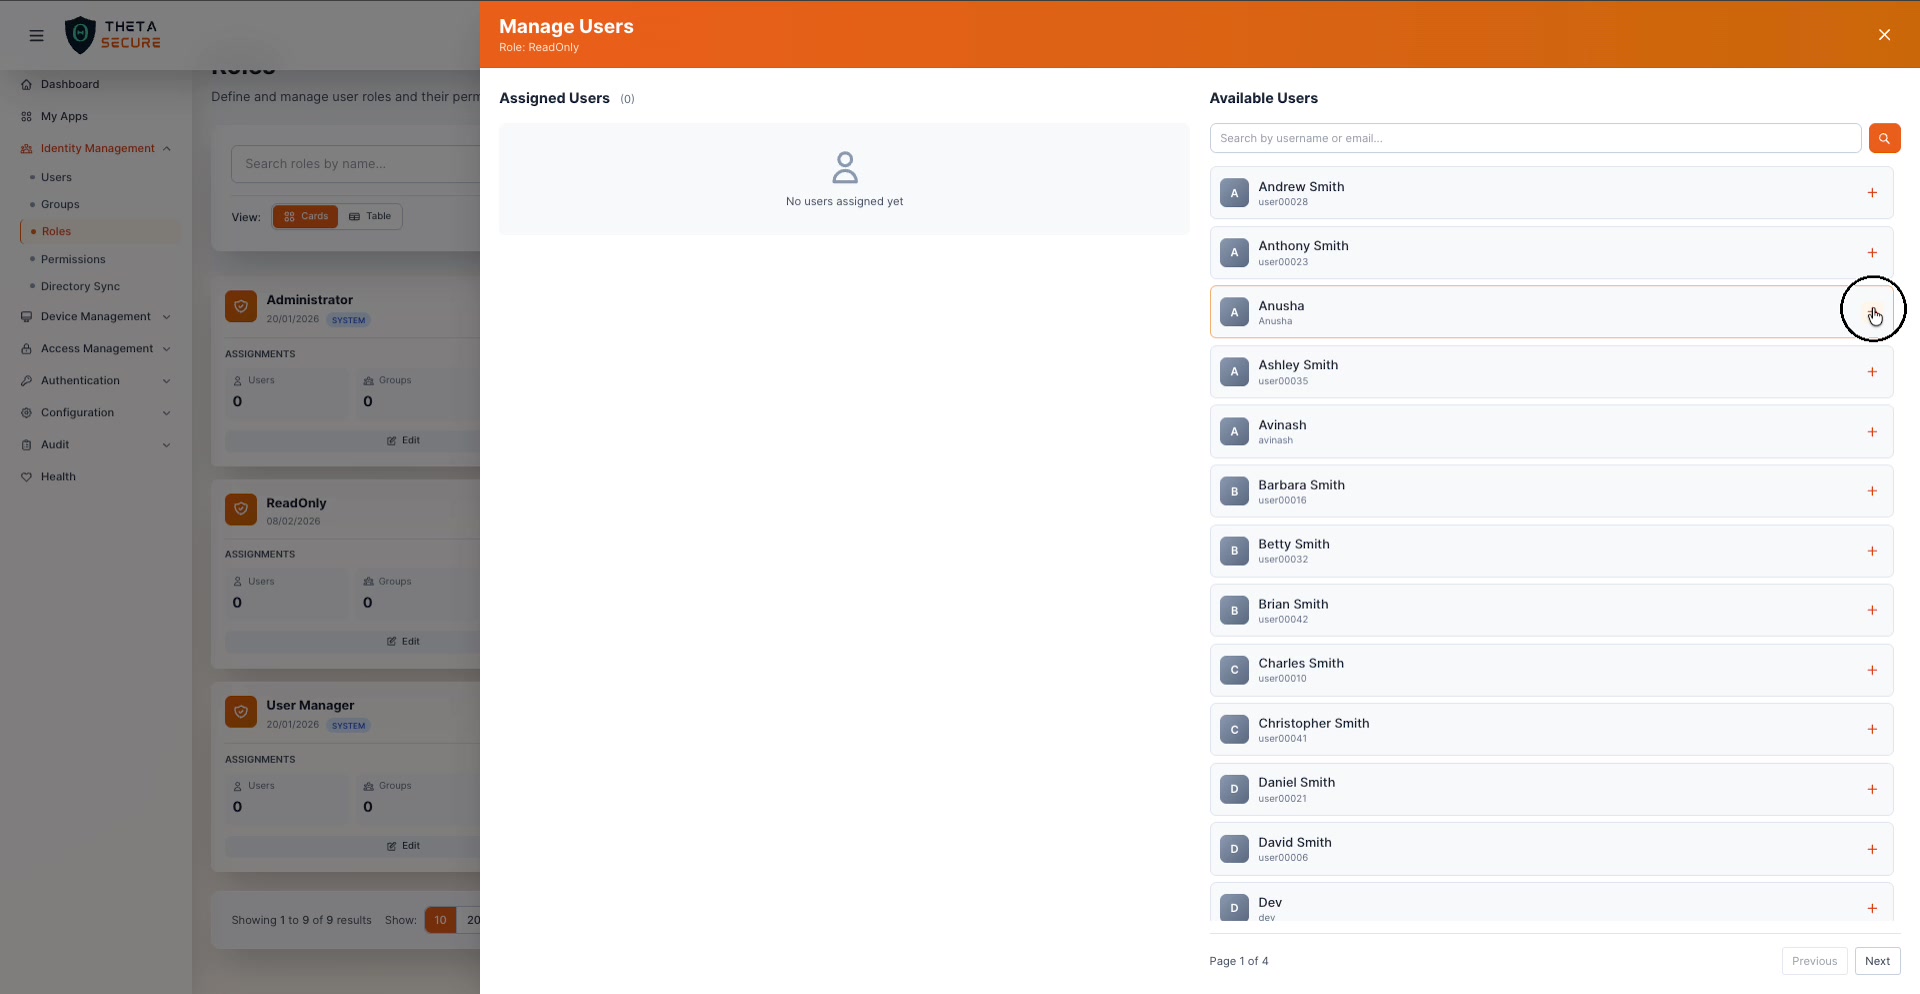
The layout follows the same two-column pattern. Assigned Users on the left, Available Users on the right with search and pagination. Click + to assign a user to the role, or ✕ to remove them.
Assigning Roles to Groups
Click the Groups count on a role card to open the Manage Groups panel.
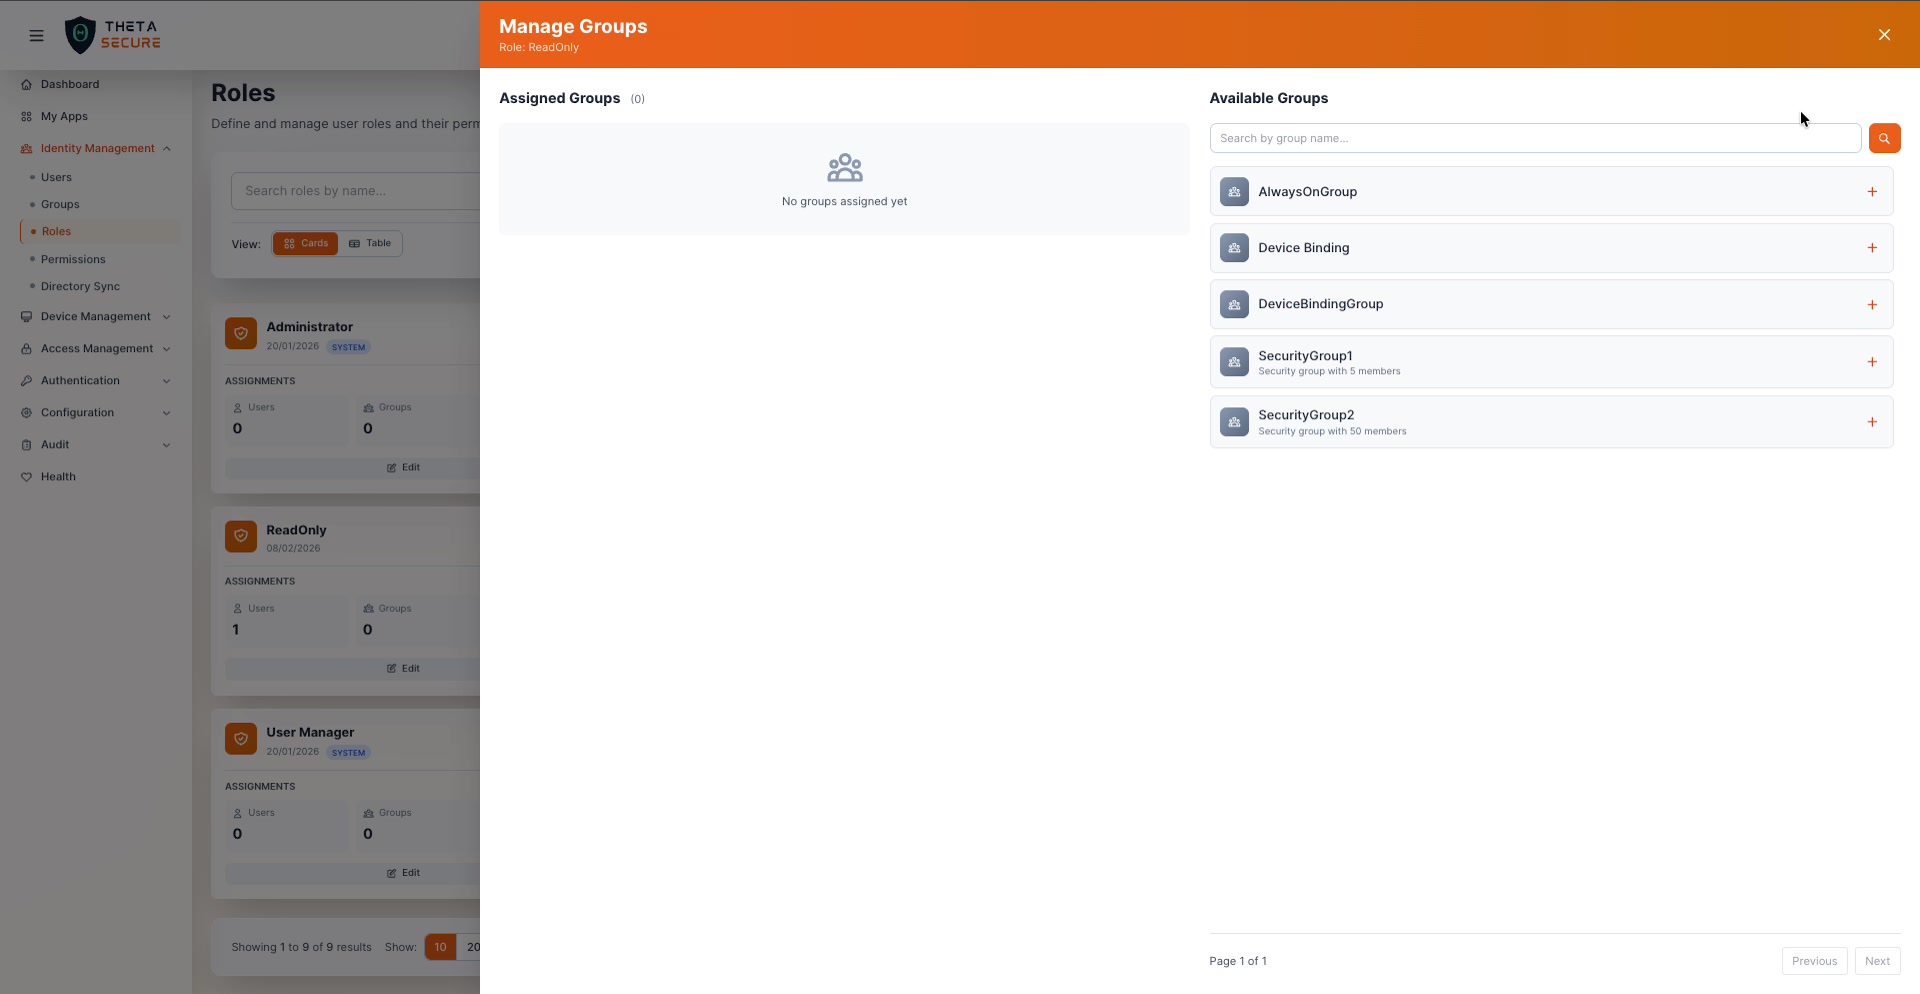
This is the most efficient way to apply a role at scale. Instead of assigning 50 users individually, assign the role to a group and every member inherits it automatically. The available groups list shows each group's description and member count (e.g., "Security group with 50 members").
When a new user joins the group through directory sync or manual assignment, they automatically receive the role's permissions. When they leave the group, the permissions are revoked.
System vs. Custom Roles
| Aspect | System Roles | Custom Roles |
|---|---|---|
| Badge | SYSTEM tag displayed | No badge |
| Deletable | No (🔒 lock icon) | Yes (🗑 delete icon) |
| Editable | Permissions can be modified | Fully editable |
| Provided by | ThetaSecure (out of the box) | Created by your administrators |
Deleting a Custom Role
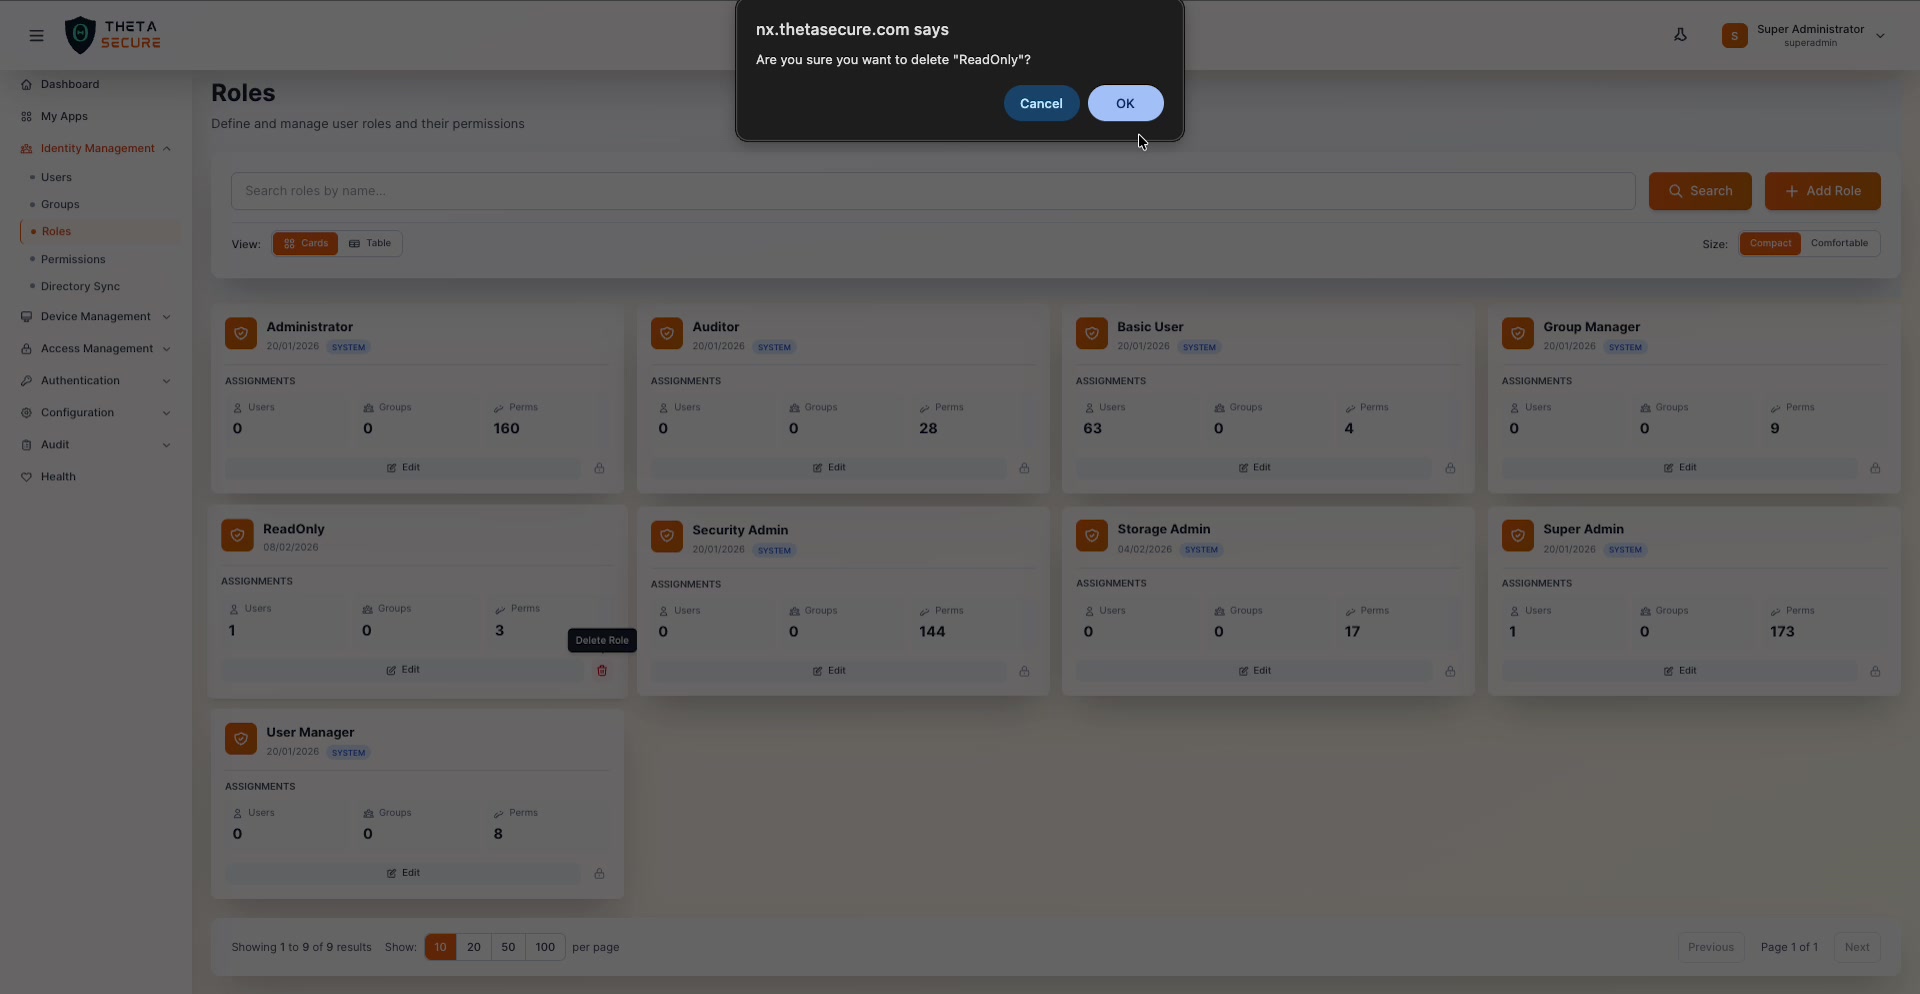
Click the 🗑 icon on a custom role card to delete it. A confirmation dialog asks "Are you sure you want to delete this role?" Users who had this role assigned will lose the associated permissions immediately, so verify that no active administrators depend on the role before removing it.
Best Practices
Start with system roles, customize later. The eight built-in roles cover the most common access patterns. Use them as a starting point. If an administrator needs slightly more or less access than a system role provides, create a custom role based on the same permissions and adjust from there.
Follow least privilege rigorously. With 173 permissions available, there is no reason to over-provision. A helpdesk operator who needs to reset passwords should receive only the users:update permission, not the full User Manager role. The more narrowly you scope each role, the smaller your attack surface becomes if an account is compromised.
Use groups for role assignment. Assigning roles to individual users works but does not scale. As your organization grows, tie roles to groups and manage membership through directory sync. This ensures that access stays aligned with your HR and identity lifecycle processes automatically.
Audit role assignments regularly. Use the table view to review which roles have the most users assigned. If the Super Admin role has more than a handful of users, that is a red flag worth investigating. The principle of least privilege only works when it is actively enforced.
Document your custom roles. Use the Description field when creating custom roles. When multiple administrators manage the same ThetaSecure instance, clear documentation prevents accidental permission creep and makes onboarding new team members faster.